Blending Tools
A blending tool can be almost any textured material. Here you'll learn the basics of blending with various types of everyday items.
There might be hundreds of materials that you could use as a blending tool to blend out the shadows in your drawing project.
Literally, any textured material can be used...with varying results of course.
Some of the things you might try are...
- Fingers
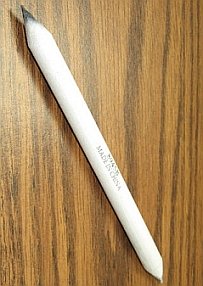
- Tortillions
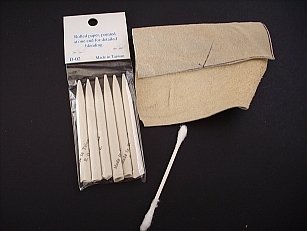
- Blending Stumps
- Paper
- Cloth
- Cotton Swabs
- Make-up Applicators
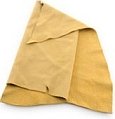
- Chamois (ˈsha-mē )
- Paper Towels
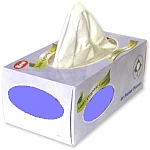
- Facial Tissue
- Art Brushes
Well, you get the idea.
Because there are so many things that you could use to create shading, I will only discuss the techniques using the main blending tools that most artists use in their drawings.
- Fingers
- Tortillions
- Blending Stumps
- Chamois
- Facial Tissue/Paper Towels
Fingers
There are some mediums that are better suited for finger shading, and in my opinion...
graphite isn't one of them.
I've watched artists use fingers to shade pencil drawings, and I honestly don't know how they get away with it.
All I have to do is briefly touch a spot on a drawing and I get a beautiful fingerprint that will not erase off no matter which eraser I use.
I think that pastels, and charcoals might be better suited for finger shading. Even though I don't like to use a finger to blend out graphite, some artists swear by the technique.
If you want to try shading with your fingers then I suggest you do it on an experimental piece, just to see what the results will be.
Be careful, if you touch a place on the paper that doesn’t have any graphite on it (but will later); you could end-up discovering a permanent fingerprint when you begin applying the medium you're drawing with. Try and blend-out medium that has already been applied to the paper; blend from the dark values out into the light values.
Another option would be to use a brown, jersey glove, with the fingers intact to blend-out the shadows.
Tortillions
Click here to go to the section on tortillions

Then return here when you're ready.
I use tortillions quite a lot. It's the tool I learned with many years ago, and it has remained as my main blending tool ever since.
The method of blending is the same as it is for most of the blending tools...blend from the dark values, out into the light values.
While your blending hold the tortillion at an angle so that you don't push the tip back into itself. If this happens then stick a paperclip through the back and push the tip back out.
Unless the tortillions are damaged beyond repair, save the “dirty” ones; they're great for shading dark areas, or putting in subtle shadows.
Start with a clean tortillion for shading a very light area, usually into a highlight.
Blending Stumps
Click here to go to the section on blending-stumps.
When you're done there, you can come back here.
The method for shading your medium with a stump is the same as it is for a tortillion, except that there are no worries about the tip being pushed back into the stump since the stump is solid.
You will find that the "feel" of the blending-stump is different. As I suggest often, make sure to practice using all the blending tools before doing a "serious" piece.
Chamois
Click here to go to the section on Chamois.
When you're done there, you can come back here.
After some use of the chamois, I have found that it is best suited for shading the lighter areas on a drawing. Because of how smooth the chamois is, if it's over used in dark areas, it tends to create a gloss. Then when you add more graphite, it tends to not want to stick.
Use a light touch and don't over-work the area you're shading
Now, that's my experience...so far. I have only used a chamois on smooth Bristol papers, and graphite. The results would be different with other papers and mediums.
Tissues/Paper-towels
 |
You'll love using tissues and paper-towels. "Why?", you may ask.
|
You use a tissue as a blending tool by wrapping it over your finger and rubbing from the dark areas into the light areas. When a spot gets dirty, just move your finger to a different spot on the tissue.
One point that I should mention is that sometimes the tissue will pick-up some of the graphite rather than just spreading it out....just so you know.
Home> Drawing Tutorials> Shading/Blending Page> Blending tools
Subscribe to my Newsletter


